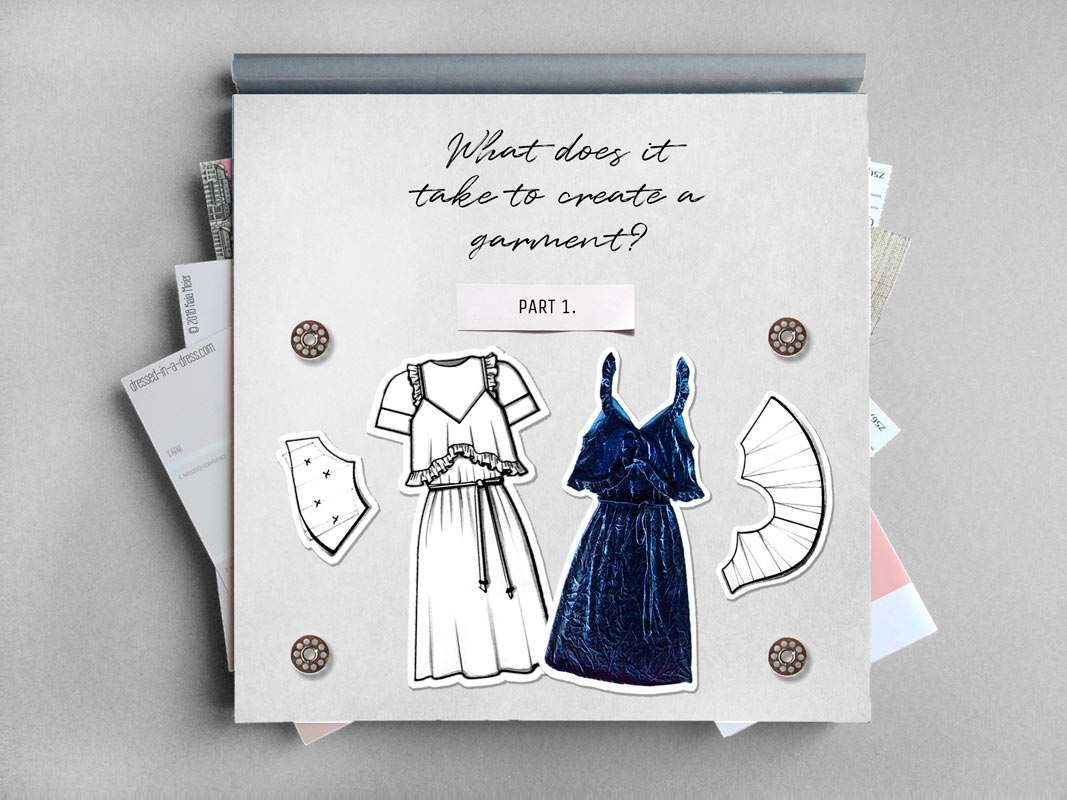
What Does It Take to Create a Garment? Part 1.
Category: Design Process 15 July 19

For the first half of my sewing life, I was using ready-made patterns. Unexpectedly, the choice that the magazines provided was not enough, and the decision to create a dress from the beginning to the end came by itself. This was the beginning of a new era.
At that moment, I was left alone with my knowledge, skills and a million doubts. There was nothing that could help, no trued pattern, no step-by-step instructions, or even a brief scheme. The situation was saved by the fact that I already knew the sewing process, thanks to mom and the magazines. But on the table, a blank sheet was laying on which in a magical and incomprehensible way a pattern would appear in the future.
As time passed, my persistence, endurance and the ability to dig up the information helped me to find the answers. I crave for planning and clarity. And at that time I had a feeling that, like a young equilibrist, I was balancing on the rope and would soon misstep. But the fall did not happen.
After a while and dozens of dresses and skirts, there appeared a scheme, which I wish I had at the beginning of my work. I will reveal it in details in the 3 following posts. The scheme matches dresses, skirts, jackets and any other garment. The main thing is to remember that, in spite of common features, each outfit and the process of its creation are individual.
So what does it take to create a garment?
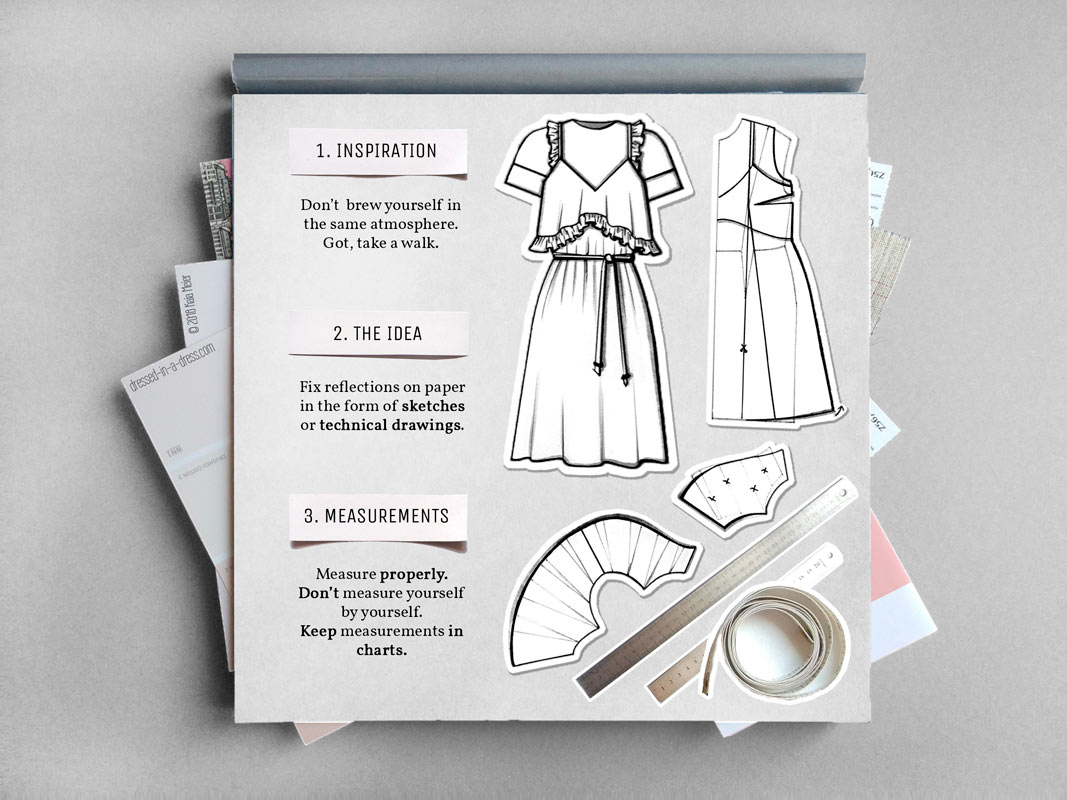
1. Inspiration
Anything can inspire—a new spring collection, snowflakes falling in the light of a lantern. It is important to open up to something new and see what will come out of it. For some, the transformation of abstract images into concrete models is easier, others will have to try a bit harder. One thing is certain, it is difficult to create something new and unforgettable if constantly brewing in the same atmosphere. I tell it as an introvert to the marrow of my bones.
2. The Idea
Inspiration acquires clear contours, and an idea gets its form. In the process, it changes, becomes overgrown with details like a snowball. Sometimes the thought goes so far from the initial idea, that there is nothing left, and it turns out either what I was looking for or something intangled and unclear.
If the latest happens, it’s worth returning to the starting point. It is useful to fix reflections on paper in the form of sketches or technical drawings. It’s ok if the lines are trembling, and the sketch is not suitable for the exhibition in a museum. The main thing is that the details and structure remain clear.

3. Patternmaking & Measurements
As the building needs blueprints of plans, facades and sections, so the dress needs a pattern. Kind of a drawing in which the idea develops. To make it, one will need knowledge about patternmaking.
There are 2 main ways of creating a pattern: there is draping and drafting, that also includes a flat patternmaking method. In the first case, the dummy is wrapped with a piece of fabric and the contours of the future garment are drawn on it. In the second – the pattern is drawn on a sheet of paper according to special formulas and measurements.
If you’d like to learn more about pattern drafting, check my Patternmaking Series.
I started my way with pattern drafting, so at this moment I still work with it and dream to master draping one day.
For pattern drafting, there is also no single system of calculation and drawing. In some books, only body measurements are used, others include values gotten from formulas.
One thing unifies different books: properly taken measurements guarantee up to 50% of the success.
At first, it is difficult to determine the boundaries of some measurements. With time trained eyes and hands will start to find the necessary points automatically.
Below you can find some helpful advice on getting proper measurements.
The Basic Measuring Rules
- I don’t measure myself by myself, because the values become distorted, as I move, so I entrust it to a friend or assistant.
- The presence of clothes at this moment is also inappropriate. Underwear or a leotard is enough because we do not put a blouse on a sweater.
- The natural body waistline will be a starting point for most of the measurements, so I indicate it by a string. It might seem that it is too high, but it should be the thinnest part of your torso.
- It is important to keep your natural posture. Don’t straighten the back too much if it is an unusual posture for you. If you do this, once you put a ready dress on, the fit might surprise you in an unpleasant way.
- It’s better to record the measurements in a separate table and store them safely, especially if you have a number of clients. Also, there is no need to retake measurements every time you want to sew a dress if the figure does not change in size.
And this seems to be plenty of information, so it will be all for today. In the following posts; part 2 and part 3, I’ll write about the patternmaking process, samples, cutting and sewing.
See you soon,
xoxo
Kaia

 My Etsy Store