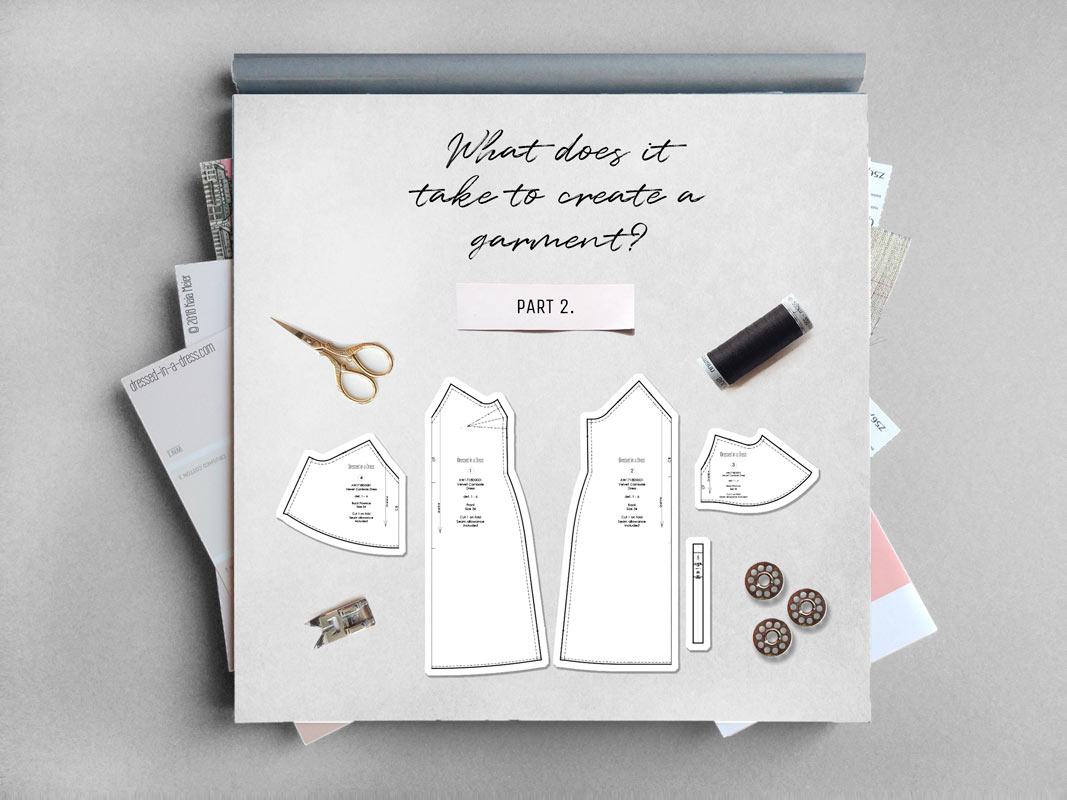
What Does It Take to Create a Garment? Part 2.
Category: Design Process 22 July 19

If you’ve just joined the reading, please, visit the first part page. It tells about inspiration, ideas, ways of getting a pattern and measurements. If you please, I’ll continue.
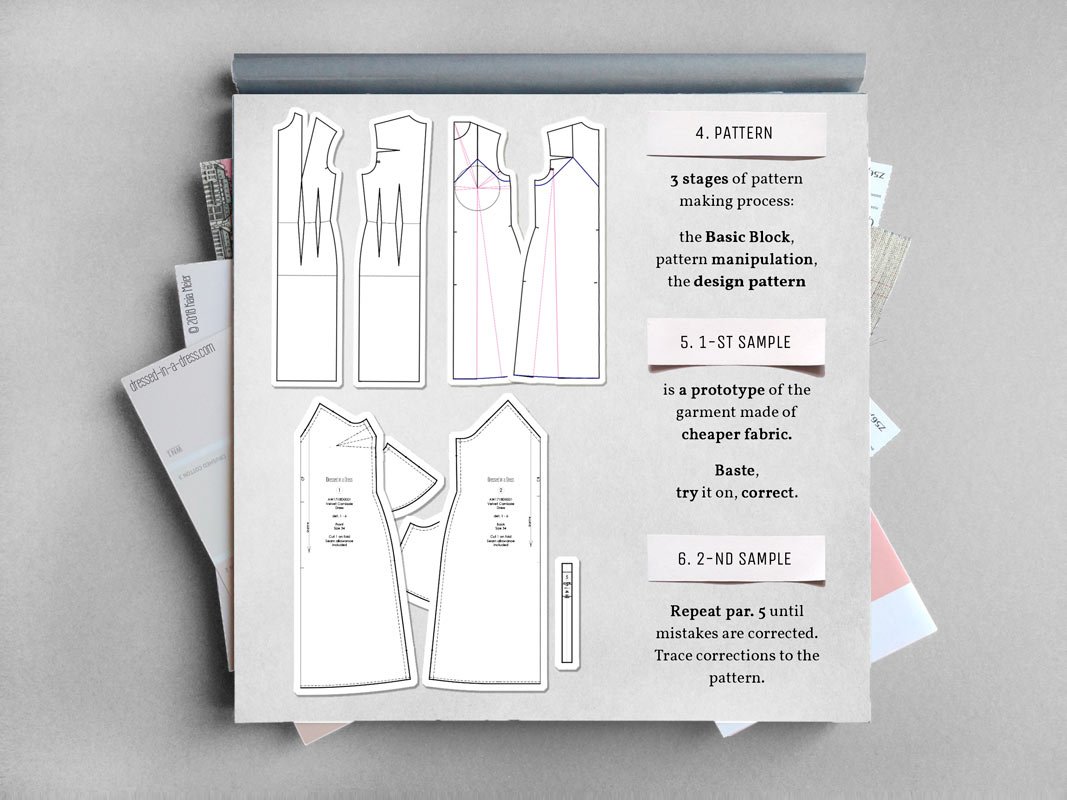
4. Pattern
A pattern is the template, the blueprint, from which the parts of a garment—like sleeves, front and back bodice, collar, etc.—are placed and traced onto fabric before being cut out and assembled. Patterns may be drafted manually or digitally. They are usually made of paper, cardboard or even plactic, if used really often.
The process of making these blueprints is called Patternmaking, or pattern cutting.
The construction of the pattern in the drafting method is divided into 3 stages:
- Drafting of the basic block
- The flat patternmaking, or pattern manipulation. It is the process of transformation of a basic block into the desired pattern
- The design pattern: the final pattern with markings and seam allowances
Spatial thinking, mathematics, drawing skills and creative sense are useful here, even if they are yet sleeping, patience, perseverance and attentiveness will help to cope with the task.
The Basic Block
Geometry and calculations – that’s what creation of the basic block includes. To someone, this process might seem boring and obscure, but sometimes you have to put up with it, in order to then dive into the creative flow.
The basic block pattern is a parent pattern, a foundation from which all other styles evolve. It is a well-fitting pattern that is pretty simple and doesn’t have any styling details.
The basic block needs body measurements, and its drafting differs depending on the book chosen. Most of the time the basic block has the minimal sufficient wearing ease. But it is helpful if you have Basic blocks for different silhouettes. I choose the basic block according to the silhouette of the final garment.
Silhouettes can be loose, semi-fitted and fitted. Each silhouette contains a certain amount of ease.
Ease is the centimetres added to the body measurements in order to give us comfort for walking, breathing, raising our hands, eating—that will be wearing ease—or a certain silhouette—that is design ease.
Measurements and drafting of the basic block should be considered as a serious process, because the better the basic block corresponds to the figure, the better it will finally fit. The basic patterns of different silhouettes will serve for several years if the measurements remain unchanged. So there’s no need to retake them every time.
Pattern manipulation
At this stage, creativity happens. By a number of manipulations, one Block turns into an evening gown, and a slip-dress, and in a kimono, and anything else. Here, knowledge of darts, princess seams, sleeves’ types, folds, drapes and decorative elements will be useful. To learn more about it check my Patternmaking Series.
The Design Pattern
Correctly marked pattern simplifies the work. Not to lose the patterns, I letter and number them, and for easy cutting, I add brief instructions and seam allowances. I also make special marks, or notches, which I align while sewing to speed up the work.

5. 1st sample
The prototype helps to correct the pattern, that wasn’t tried before. Some ignore this stage, as unnecessary and time-consuming, but it’s not true. In practice, the sample helps to save time and material when sewing the main fabric, as you correct mistakes beforehand. With it, you do not have to worry about how to resew a seam on velvet without traces, how to extend the back or lengthen the sleeve.
The Fabric
For sewing it, a piece of muslin or other cheap fabric is suitable. The main criterion for choosing the fabric is its similarity in properties to the fashion one: if a garment is to be made of silk, it is senseless to sew a sample from rigid cotton, because the fit will differ, choose chap polyester, for example.
Cutting
The prototype’s fabric is not afraid of either chalk, a marker, or a pen. It’s easier to remove flows and defects if balance lines are traced: chest, waist and hips line, centre front (CF) and centre back (CB). Larger allowances give freedom for correction. On the sample, I draw corrections with another colour, so I won’t mix in the lines up.
Assembling the sample for fitting
I baste the details together with small hand stitches or a special machine stitch. As a result, the garment will look almost ready. This will help to accurately examine the proportion and fit.
Fitting & adjustment
In the sample’s fit, there should be no flaws. If creases appear on a sleeve, the dress lifts from the front, the neckline is too small, and the darts fall under the chest, all this needs to be fixed now, don’t leave these for later. Do not torture good fabric.
6. Fitting the 2nd sample
When correcting a sample, two situations may appear:
- The first one: the garment fits as it should and does not require adjustments, in this case, you can safely cut the fashion fabric.
- The second one: the fit still needs corrections, if this happens, I alter and correct the sample until the seams set in place. There isn’t always only one sample, sometimes you need 2 or 4 no matter how scary it may sound. Adjustments that I made to a sample I then trace to a pattern and only after that I start cutting the fashion fabric.
Creating a garment is a long way and I hope these posts can guide you. The [final one] (/blog/create-a-garment-part-3/) of this trilogy will be about cutting, final fitting and sewing. Don’t miss the whole scheme at the end of the next post.
xoxo,
Kaia

 My Etsy Store