What’s inside the fur coat? Part 1.
Category: Sewing Story 05 August 19

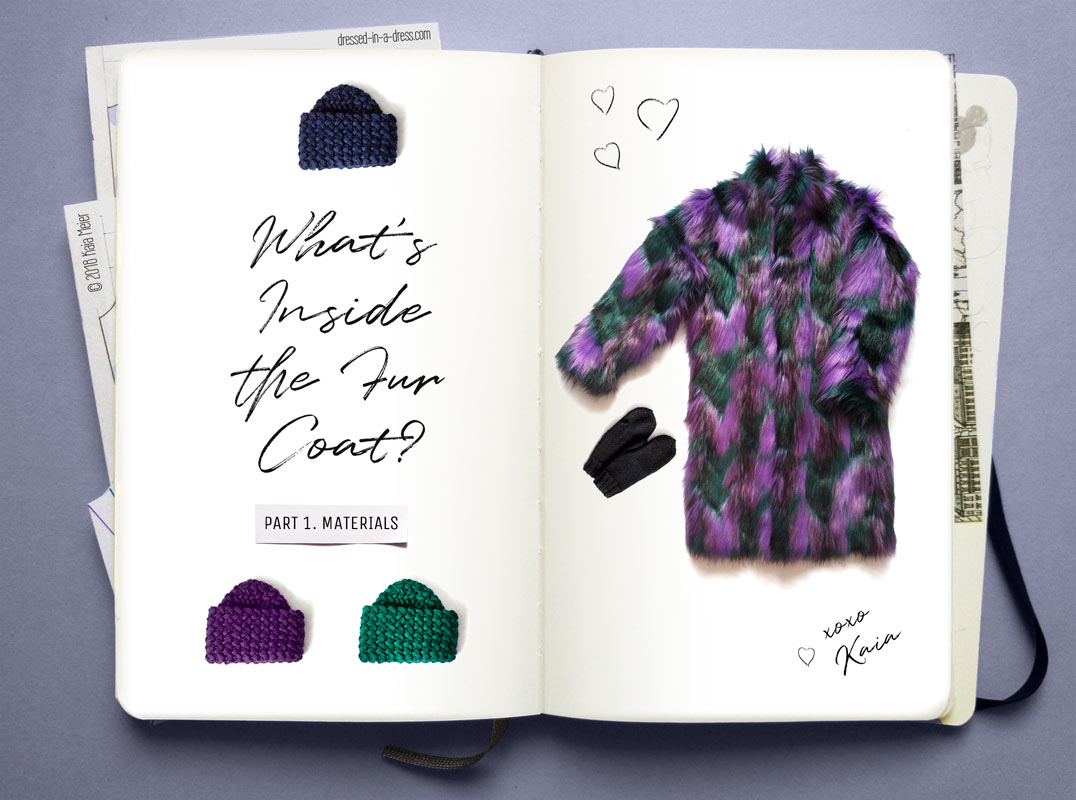
As soon as snow covers the streets, I start to feel an uncontrollable desire to warm myself with at least one new sweater. Every time I finish a new knitted something, I swear to never touch the needles again. And every time, as soon as it becomes cold and dark, I start ordering yarn. I need a sweater, and a hat and a scarf, and a sweater, yes, it will be warmer. This year, the yarn did not help. A spontaneous trip to a fabric store for “just to have a look” ended up with me happily wrapped in a new shaggy piece of eco fur. After a month and a half, it will turn into a fur coat, which will make passers-by turn around.
The new idea inspires, sometimes you want to tell about it, even boast. I should not have done that. For a month and a half people, who are unfamiliar with sewing have asked the same questions for about a hundred times: “When? Why does it take you so long ?”. To my reply that sewing fur coats, even eco ones, is not so simple, they raised eyebrows in surprise. I understand. Viewers do not know what hides between the lining and the fluffy fur. There is no tag on the coat that tells how many hours it took to stitch the details, how many hand seams had to be made, and what difficulties appeared on the way. They only see the face, the result of the work.
So why is this coat so simple and complicated at the same time?
The Pattern
In the pattern pack, there are only 4 details:
- Front with a whole-cut facing
- Back
- Sleeve
- Collar
Nothing more is needed: the fur itself will play the leading role. It has a dense knitted base and long multi-coloured pile, which later will colonize the whole apartment. As a pair to it, I choose dark viscose crepe with blurred colours. The print reminds me of the old photos.
I’ve been deciding to buy fur for a year or more, and by the time I get ready, there is only one piece left in the store. And it is too small to fit the coat and an average set-in sleeve. So, why not make a kimono sleeve? it does not need that much height. At the moment of self-confidence, I recklessly think that I can finish the work in a week. The coat doesn’t have many seams, even despite the lining. But somehow sewing moves slowly.
The sewing machine refuses to cooperate at the first stitches, and the overlock nervously reports about the overload. It seems easier to sew each seam by hand. No, the fur is not so thick.
The Layers
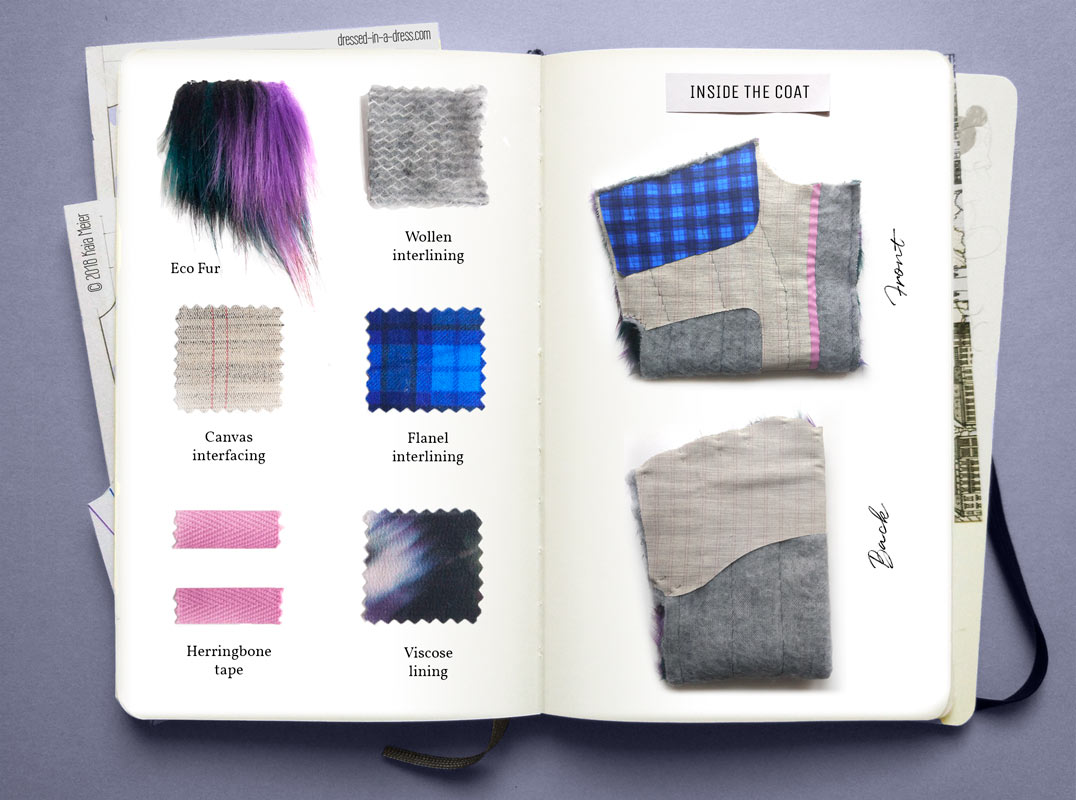
In addition to visible lining and fur, in some places, there are 4 magic layers more:
- Woollen Batting
- Horsehair Canvas
- Flannel
- Herringbone Tape
Each material performs a separate function in this catchy construction.

Woollen batting is non-woven interlining made of natural wool and synthetic fibres.
Interlining is the fabric added between the fashion fabric and the lining of a garment. It is used to provide warmth, but it also helps to change the properties of the fashion fabric: it reduces the crease, adds body and drape.
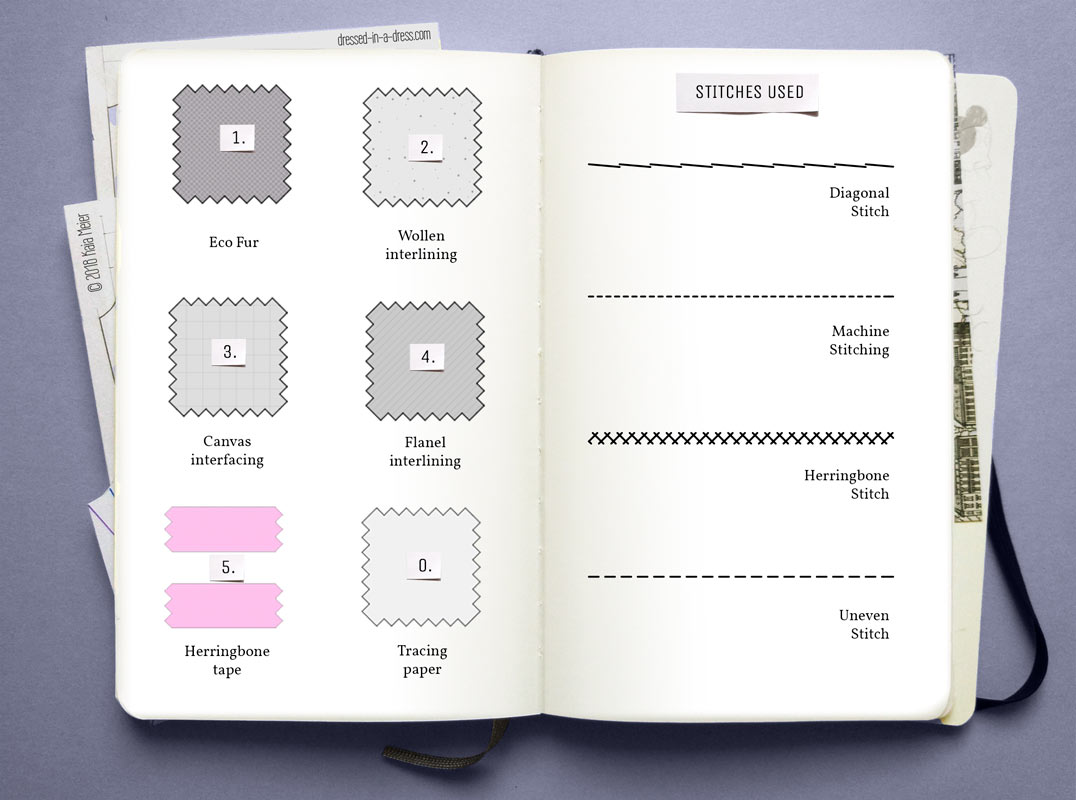
Woollen Bating makes the fur coat warmer, while it remains light. In the garment, there is no extra volume and it lets the skin “breath”. Nothing interferes with the movements. You can interline both the lining or the fur. I chose the second option and sewed the interlining to the fur with diagonal hand stitches.
The remaining three layers—horsehair canvas, flannel and herringbone tape—form an inner supporting structure—the Interfacing Packet. It is kind of a skeleton, that duplicates, strengthens and smoothes out shell fabric details. Without it, the garment will not fit properly and will lose its shape quickly. That would be a loss.
The Interfacing is an additional layer attached to the inside of certain areas of the garment. It can add support, body and structure. It can also stabilise certain seams—shoulder and armhole ones—and necklines or necklines. Interfacing may be fusible and sewn-in.
The second one works best in high-class garments and on fabrics that do not tolerate heat or have loose wave .
The Technique
There are traditional, machine and fusible interfacing techniques that help build the inner structure. The choice depends on the garment, fabric and preferences of the sewer.
In the traditional technique that is described herein, the skeleton is attached to the shell fabric by hand stitches. This gives you more control over the process. The second technique combines both machine and hand stitches. In the third one, which is the simplest in performance and the least elegant one, the details of the inner structure are cut out of the fusible material. They are attached to the shell with the help of heat and steam.
I must note, steam pressing fur is not the best solution.
Materials that form the inner structure vary depending on the shell fabric, the garment and the desired result. So, the canvas may be replaced by organza or muslin, and flannel—with soft wool.
Here I must confess, that flannel was chosen because I had it in stock.

The hair canvas details support the upper back, completely or partially interface the front, strengthen the outer part of the collar and the hemline of the “body” and sleeves. The canvas is stitched to the shell details with diagonal and herringbone stitches.
The flannel shoulder pad softens the junction of the shoulder and the bust. I attached the pad to the canvas with machine stitches.
The cotton herringbone tape stabilizes the fold of the front facing.
A similar construction is suitable for a coat and a jacket.
Now I’ll leave you with your ideas about your next coat. Next week we’ll take a closer look at the skeleton’s patterns and construction process.
See you soon,
xoxo
Kaia

 My Etsy Store