One More Kimono & a Tulip Sleeve
Category: Sewing Story 26 August 19

Curious faces peer over my shoulder and ask what I am sewing: a silk robe or a negligee. I hear this question for the hundredth time. So I breathe out quietly in a meditative manner and with a mysterious smile, I answer that I’m sewing neither one nor the other.
After all, I know that in a dozen stitches I will finish the bohemian kimono, which I have wanted for many years.
The Prologue
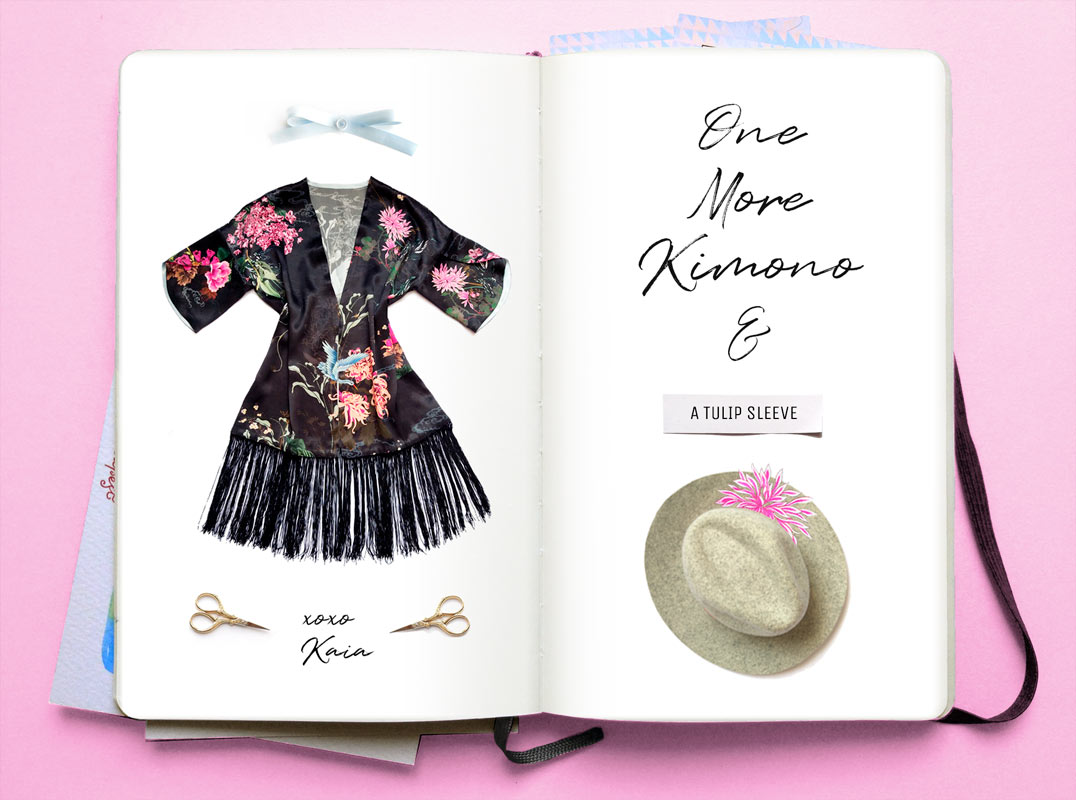
Loose and fluid it is cut from heavy silky viscose with a print of cranes, asters and my favourite peonies, which remind of Japanese engravings. The kimono flows and pleasantly wraps around the figure. Heavy black fringe waves and flutters at every step, creating an aura of mystery.
Exquisite ease and bohemian relaxation as a medicine against grey colours of everyday life. A reminder of the summer, which is not here and about sunsets in cities, that I have not been to yet. The provocation for fans of the phrase “Is it appropriate? To walk out in a gown?”. Yes, it is possible, and it is even necessary if it’s something you dreamed of.
If looking at the kimono objectively, it is not that complicated. There are 6 structural seams here, but 70% of the finishing I made by hand.
- I finished the hem with a strip of fringe which I attached to it with a hundred of running stitches. I resewed it 4 times because at first I stubbornly sewed the second row for a more dramatic effect. As a result, the hem began to turn outward, and I had to leave this idea.
- Instead of front facing, I covered the neckline with light blue bias tape. It is visible only from the inside when the kimono opens wide while walking.
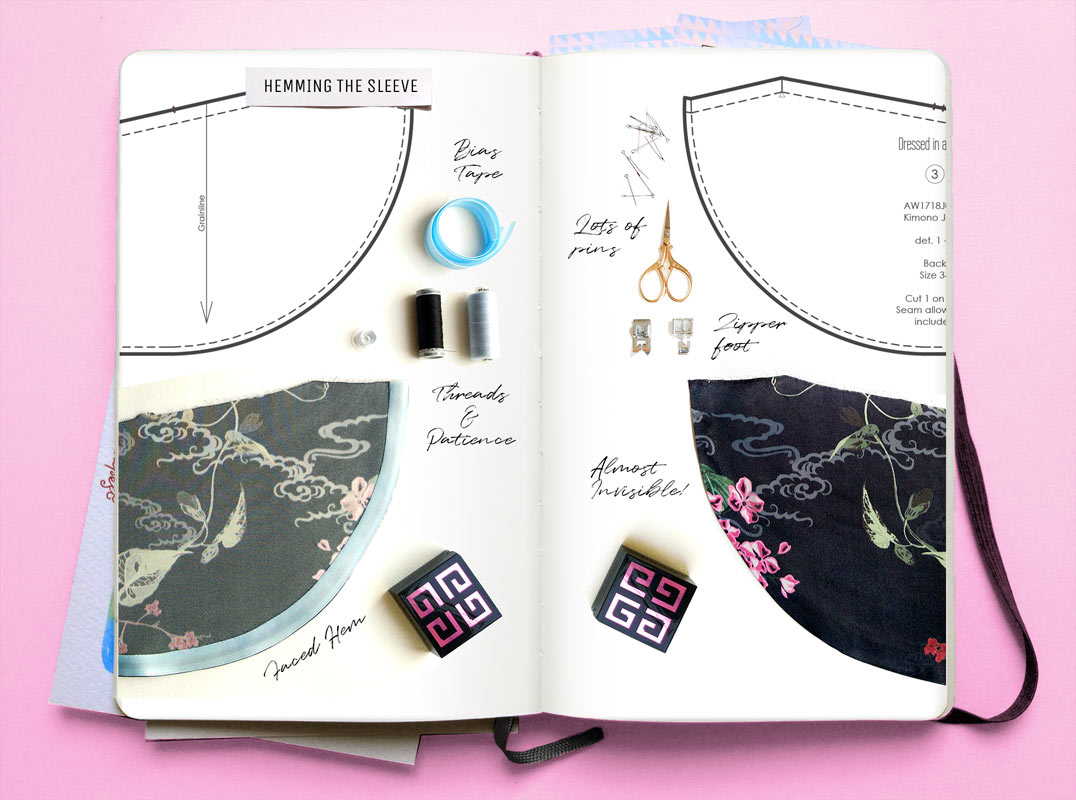
- The same light blue bias tape runs along the edges of the tulip-sleeves, that so well match the floral theme. The pattern is simple, but it looks impressive.
The Patternmaking
The Tulip Sleeve can be drafted from both, a kimono sleeve and a regular cap sleeve. First of all, I draw the sleeve of the required length on the front and the back of the kimono. Then I draw the notches, that indicate where a sleeve should be set in.
The marks and notches simplify and guide through sewing, especially when working with sleeves with a high cap (a classic narrow sleeve in dresses and jackets). With them, it is easy to determine the front and elbow parts of the sleeve, so the right sleeve will not be on the left.
If you match the notches of the sleeve and the armhole, they will show how much fabric needs to be eased in the cap of the sleeve.
Here’s what I do to create the pattern:
- I copy the sleeve details and the notches to the tracing paper and cut them out, then I glue them together along the shoulder line. So 2 details turn into a kimono sleeve. As a result of pattern manipulation, it will then turn into an elegant tulip-sleeve.

Speaking briefly, pattern manipulation is always about drawing and cutting.
- Therefore, on the kimono-sleeve I draw the outline of the tulip, imagining that the sleeve is ready and is lying flat on the table. So, one side of the sleeve covers the other in the shoulder area (the dashed curve in the illustration shows the invisible part). Which part should stay below, front or elbow depends on the design.

- Again I take the tracing paper and copy both parts of the sleeve and their notches for front and back armhole and a shoulder mark.
- Then I cut out the new pieces and glue the front and elbow sections together. As a result, the sleeve will not have an underarm seam.

The same way, a tulip is drafted from a cap sleeve. The main thing is not to forget about the marks and make sure that the length of the sleeve length is the same on both sides.
Sewing
- Before sewing a sleeve into the armhole, I finish its hem.
I adore the bias tape and use it in any possible situation. As a result, I attach it with a hundred of hand stitches despite the surprised looks of the others. I’m in no hurry.
Although there are other hemming options: narrow hem on thin fabrics or hem covered with facing. Pressing the seam allowance of 1.5 cm to the inside will not work because of the curved hem.

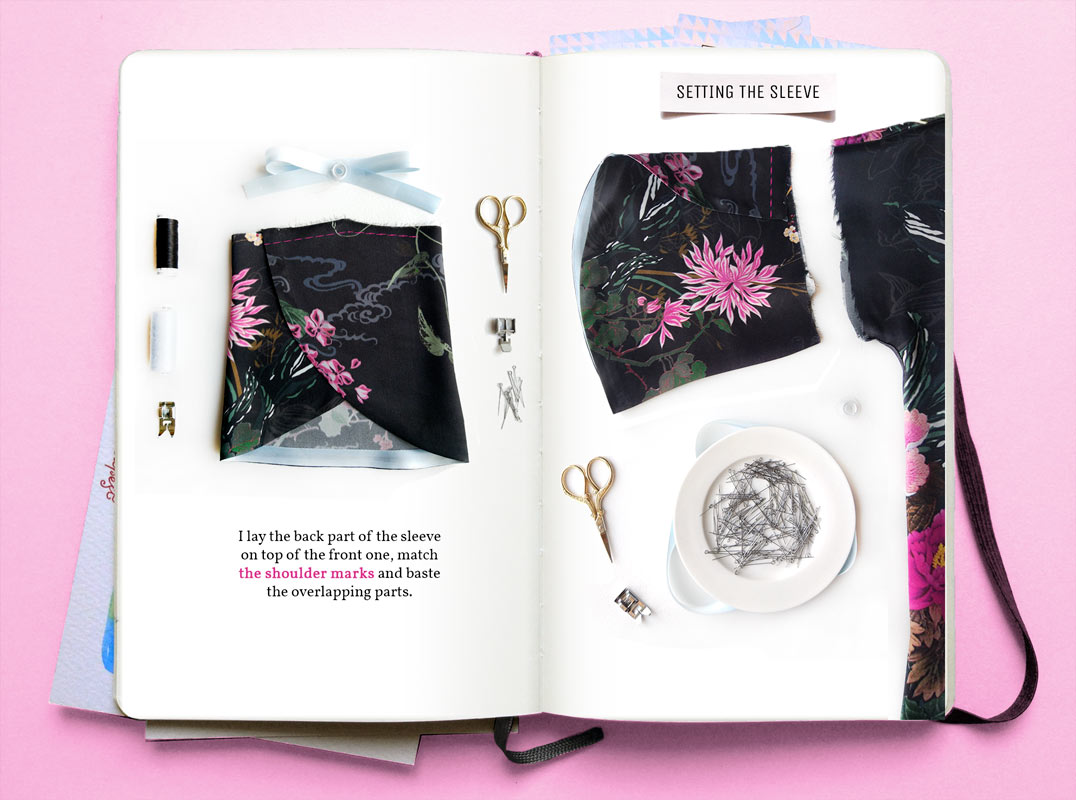
- After that, I lay the back part of the sleeve on top of the front one, match the shoulder marks and baste the overlapping parts.
- At the end I sew the sleeve into the armhole as if it was a usual sleeve: I match the notches of the side seam, the shoulder, the front and the back. Kimono-sleeve doesn’t need easing, because the shoulder is lowered and there’s almost no cap.

I finish the edges with a French seam because if there is at least one thread hanging on the inside of my garment, my eye starts to twitch. Maybe someday I’ll write an article on the importance of the inside.
The Epilogue
If I can increase the sewing time, I certainly need to do it. It seems, that this is my motto when I sew. It rarely happens that I spent the whole day sewing. As a rule, I sew for a few hours after work, while the heroes of the series mumble in the background. With my left eye I follow the story, and the right one – watch the stitching, which I make on my knee.
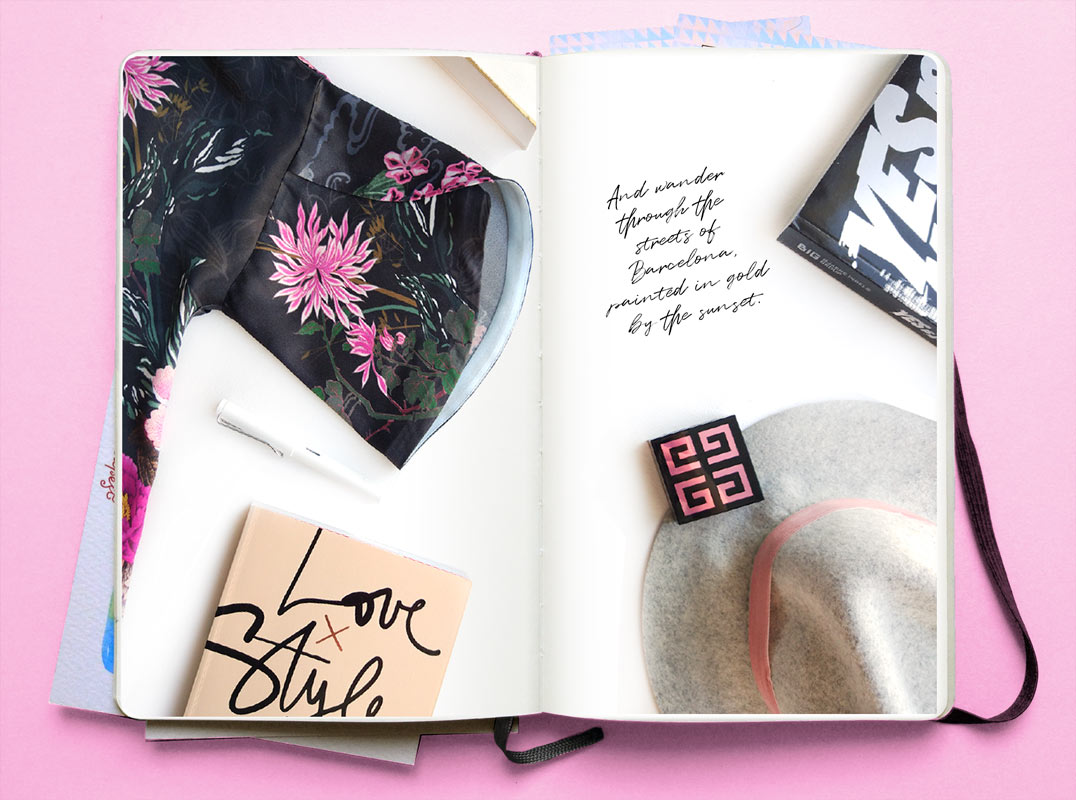
This way or another, a week later I finish the work. I hide the last knot and throw on a hat, leather trousers, pointed-toe boots and a new kimono. In my head, I already wander through the streets of Barcelona, painted in gold by the sunset.

Take care,
xoxo
Kaia
