Ruffles ‘n Stripes: One Skirt Story. Part 2.
Category: Sewing Story 08 July 19
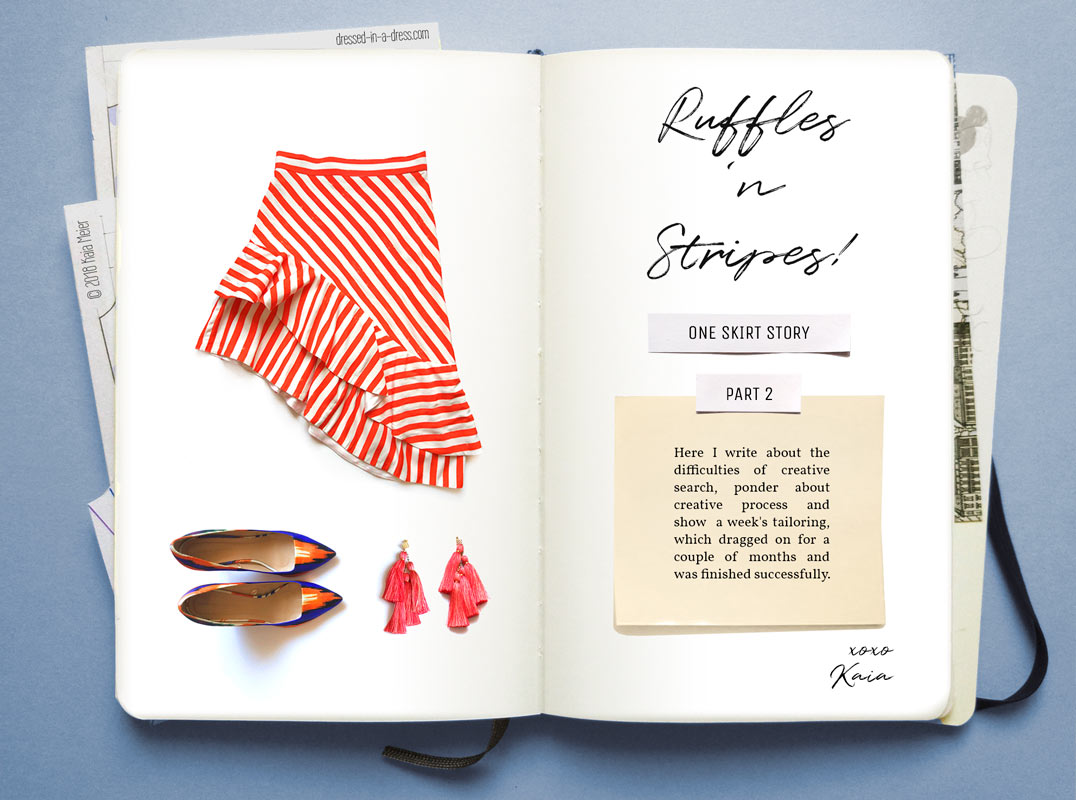
As I promised in the mysterious pre-story, here are more process details, hundreds of hand stitches and meters of bias binding hidden behind the ruffles.
The first part of this story tells about the idea, that evolved into this beautiful skirt, its patternmaking process and cutting. So, if you missed it, please, click a link above.
Be my guest and enjoy.
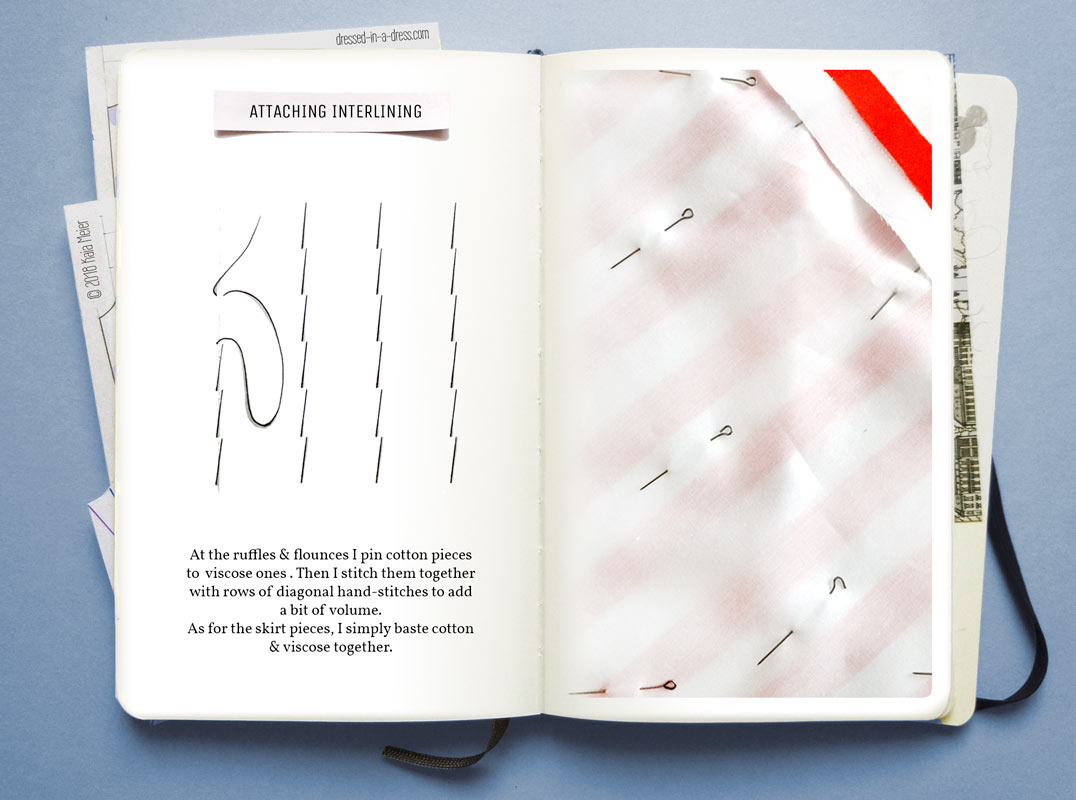
Attaching the Interlining
For interlining I choose the cambric, which, for some unknown reason, already lied in the closet. For the next couple of weeks, I stitch cambric and rayon with meters of threads. If the decision is wrong, it will only get worse: the stitches will pull rayon or show on the right side. In a couple of months, it turns out that this will not happen.
The Sewing
It took me 2 months to start sewing, and now it is flying on the wings of the wind. Or I think it does. At first, I stitch darts, then the right side seam and then the invisible zipper goes.
The Sides
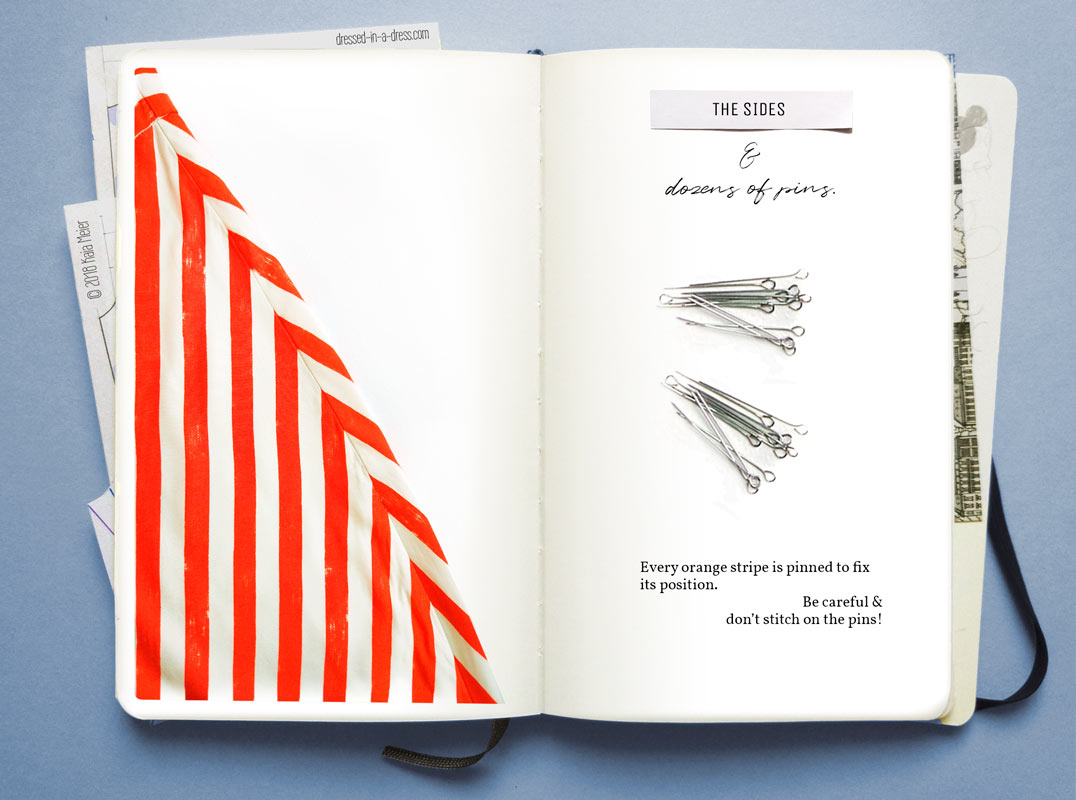
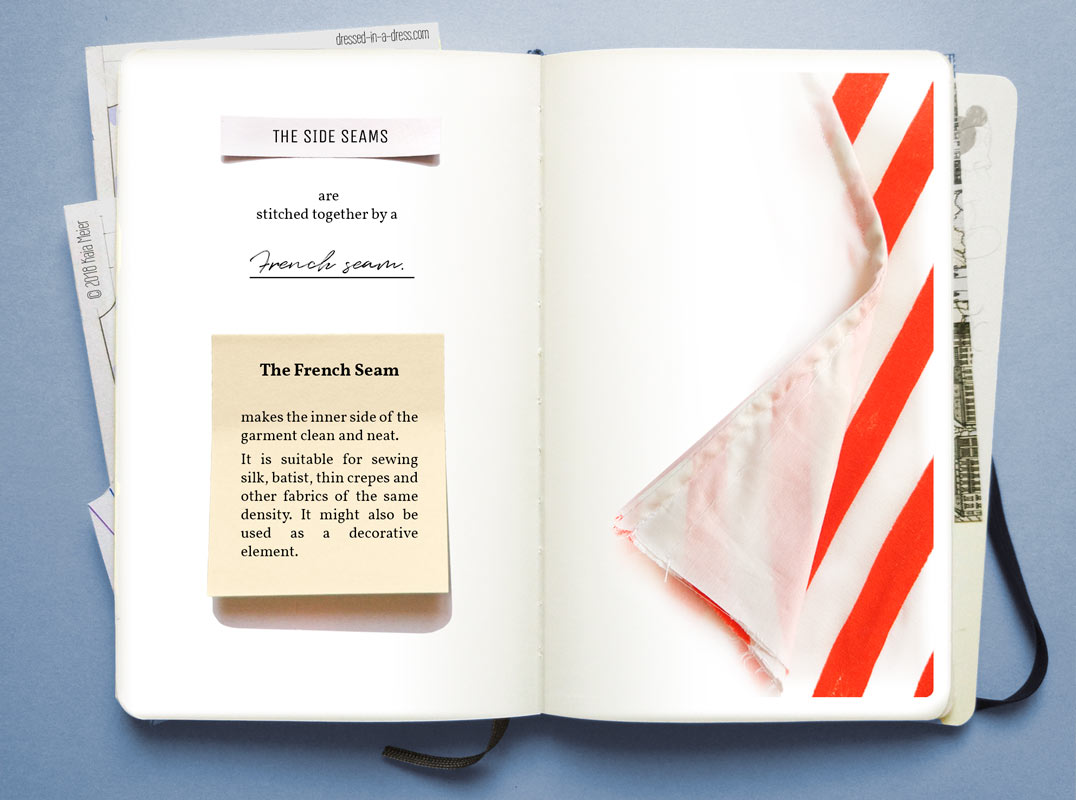
I finish the zipper with a bias binding and sew the left side seam of the skirt. Sides of flounces, ruffles and the skirt are finished with a French Seam. The seam gets dense, but it does not show on the right side – so can I exhale now.
The French Seam makes the inner side of the garment clean and neat. It is suitable for sewing silk, cambric, thin crepes and other fabrics of the same density. It can also be used as special trim. In this case, the seam allowance is visible at the right side of the garment.
The Hem & Ruffles
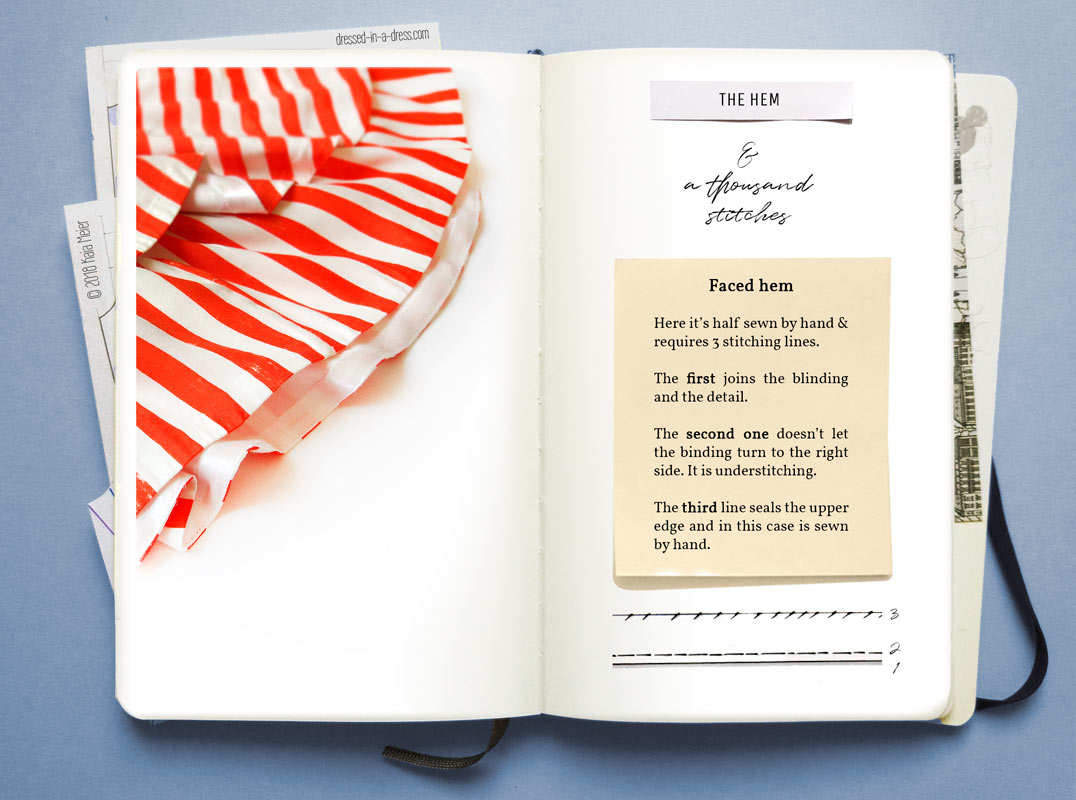
I face hems of the ruffles and flounces with white Bias Binding.
The Faced Hem requires 3 stitching lines. The first links the blinding and the detail. The second runs near the joint and prevents the wrong side from turning outward. This is called the understitching. The third line goes along the upper edge of the binding and finally seals the hem.
In my case, the upper edge of the binding is attached by hand on the wrong side, so the stitching does not show on the right. This process also takes time, but it is suspiciously calming, so I let it be.
The days turn into weeks, and now the hemming is ready. I make ruffles with the help of 2 parallel stitching lines and sew it to the skirt together with the flounce. Then I cover the joint with a bias binding. Seems like I’ve got about 40 meters of this in stock.
The inner part of the waistband remains the last. I stitch it by hand because hand stitching is addictive: if you try it once, you cannot stop.
The Epilogue
In the morning, autumn frowns outside the window. I look at the calendar – no, it’s August 2017. The skirt may stay in the closet until the next year if summer does not return. It is not pleasing at all: so many hours were spent. I need to show my work to the world. By chance or by my pleas the last summer month brings a couple of warm weeks.
I am so pleased with myself because I’ve just finished the skirt. Its flounces and my bright tassel earrings tremble with every step I make. Silky shoes play in the sun. I’m pacing the Paris pavement and smiling happily to the sunset.
From around the corner, a stranger appears. He reminds me that this is not pavement, and it is not France. He asks whether it is possible to photograph my shoes for the theatre dresser. Embarrassed and confused, I shake my head and I run across the street to go back to Paris, at least mentally.
Take care,
xoxo
Kaia
